How To Forget Network On Windows 10
In the vast digital landscape of Windows 10, our networks become intertwined like a web of connections. But sometimes, we must break free from those tangled ties and forge a new path. So, I’m here with a guide that helps you learn How To Forget Network On Windows 10. With just a few clicks, you can untether yourself from that network’s grasp and reclaim your freedom. In this article, I’ll show you how to forget a network on Windows 10 in simple steps that even a tech novice can follow.
First, we’ll access the Network Settings and navigate to Wi-Fi settings. From there, we’ll view all available networks before selecting the one we want to bid farewell to. With a quick click on ‘Forget’ and confirmation of our action, we’ll verify that the network is truly forgotten. So let’s embark on this liberating journey and learn how to leave behind unwanted networks in our quest for connection autonomy!
Key Takeaways
- Forgetting a network in Windows 10 can be done through the Network & Internet settings.
- Confirm the action of forgetting a network to ensure it is final and avoid accidentally forgetting the wrong network.
- Double-check that the network is forgotten by checking the list of previously connected networks, and if it is still listed, select it and choose ‘Forget’ again.
- Forgetting a network improves Wi-Fi signal strength and helps troubleshoot connection issues.
Access Network Settings
To access your network settings, click on the Wi-Fi icon in the bottom right corner of your screen and select ‘Open Network & Internet settings’. This will open a new window with various options related to your network connection. One of the main reasons you may want to access these settings is to troubleshoot any network connection issues you may be experiencing.
This menu lets you view available networks, connect to a new network, or forget a previously connected network. If you need to change your network security settings, such as updating your password or encryption type, you can do so.
Navigate To Wi-Fi Settings
First, locate the Wi-Fi settings on your Windows 10 device. To troubleshoot Wi-Fi connection issues and reset network settings, follow these steps:
| Step | Action |
|---|---|
| 1 | Click on the Start button in the bottom left corner of your screen. |
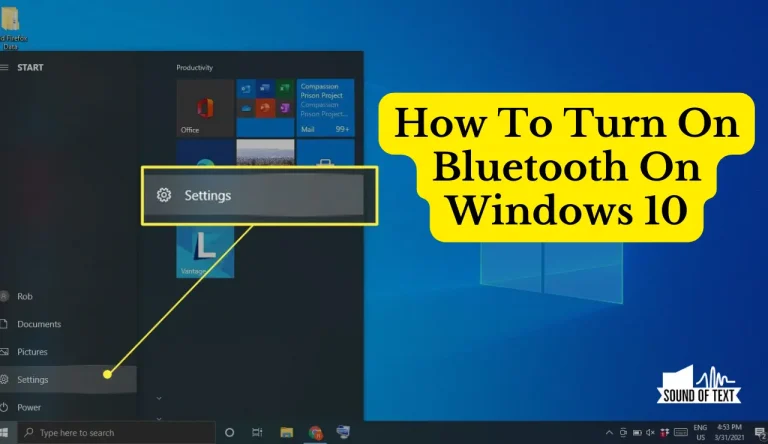
| 2 | Select “Settings” from the menu that appears. |
| 3 | Click “Network & Internet” in the Settings window. |
| 4 | On the left-hand side, choose “Wi-Fi” from the list of options. |
| 5 | Scroll down to find and click on “Manage known networks”. |
Following these steps, you can navigate to Wi-Fi settings and access the option to manage known networks. This can help resolve any connectivity issues you may be experiencing with your Windows 10 device’s Wi-Fi connection.
View Available Networks
Once you’ve reached the Wi-Fi settings, be amazed as a plethora of available networks are displayed before your eyes, just waiting for you to connect. This is where the magic happens! Here’s what you can do:
Troubleshooting network connection issues: Sometimes, networks may not show up or have connectivity problems. You can identify any issues by viewing available networks and taking appropriate action.
Enhancing Wi-Fi security measures: Viewing available networks lets you see if any unauthorized or unknown networks are present. This allows you to strengthen your Wi-Fi security by forgetting unfamiliar or suspicious networks.
Remember, it’s essential to maintain a secure and stable network connection. Take advantage of this feature in Windows 10 to troubleshoot and enhance your Wi-Fi experience.
Select The Network To Forget
When you come across an unfamiliar or suspicious network, please take a moment to consider whether it aligns with the secure and stable connection you desire. To ensure your network connections are reliable, Windows 10 allows you to select and forget networks that may not meet your criteria.
To select a network, click on the Wi-Fi icon in your screen’s bottom right corner. A list of available networks will appear for you to choose from. Once you’ve identified the network you wish to forget, right-click on it and select ‘Forget’ from the dropdown menu.
This action will remove the selected network from your saved networks list, preventing your device from automatically connecting to it in the future. By selectively forgetting networks, you can control your network connections and prioritize security and stability.
Want to know? Where does screenshots go on windows 10. Check out our webpage for this info.
Click On “Forget”
Imagine a world where you hold the power to sever the ties that bind, ensuring only the most secure connections remain at your fingertips – simply by clicking on ‘Forget’.
When troubleshooting connection issues or wanting to reset a network on Windows 10, this option becomes invaluable. To forget a network, follow these steps:
- Open the Network and Internet settings by right-clicking the Wi-Fi icon in your taskbar.
- Then select ‘Network & Internet settings.
- Choose ‘Wi-Fi’ from there and click ‘Manage known networks.
- A list of previously connected networks will appear.
- Select the network you wish to forget and click the ‘Forget’ button.
Once confirmed, all information related to that network will be erased from your device, allowing you to start fresh with troubleshooting or connecting anew.
Confirm The Action
To ensure the action is final, click ‘Confirm’, and all connection traces will disappear. Confirming actions in technology is important to prevent any accidental changes or deletions. When forgetting a network on Windows 10, it’s crucial to double-check before confirming the action. Here are some common mistakes to avoid:
- Mistakenly clicking ‘Forget’: Avoid accidentally selecting the wrong network when choosing which one to forget.
- Rushing without verifying: Take a moment to verify that you selected the correct network before confirming.
- Ignoring warning messages: Pay attention to any warning messages that may appear before confirming, as they could indicate potential issues or unintended consequences.
- Forgetting connected networks: Ensure you forget networks you no longer wish to connect to rather than ones you currently use.
By being cautious and attentive, you can successfully forget a network on Windows 10 without any negative repercussions.
Verify The Network Is Forgotten
Make sure you’ve successfully wiped away any trace of the connection by double-checking that the network has completely slipped from your memory. To verify if the network is forgotten on Windows 10, follow these steps:

- First, click on the Start button and open the Settings app.
- Then, select Network & Internet from the options.
- Next, go to Wi-Fi in the left sidebar and click on Manage known networks.
- A list of all previously connected networks will appear.
- Scroll through this list and ensure the desired network is not present.
- If it’s still listed, click it and select Forget.
This ensures your device no longer remembers or automatically connects to that network. By successfully forgetting a network, you can troubleshoot network connection issues and improve Wi-Fi signal strength on Windows 10 devices more effectively.
Frequently Asked Questions
Concluding “How To Forget Network On Windows 10”
Forgetting a network on Windows 10 is incredibly complex and arduous. With numerous steps involved, one must navigate through various settings to access the Wi-Fi options. After finally locating the desired network, the user must click the ‘Forget’ button and confirm their action. It’s truly remarkable how such a simple action can be made so convoluted and time-consuming. However, rest assured that if you follow these detailed instructions diligently, you’ll eventually be able to forget networks on your Windows 10 device.


