How To Access Bios In Windows 10
Have you ever wondered how to uncover the secret inner workings of your Windows 10 computer? Well, fear not! In this article, I will guide you through the mysterious realm of the BIOS (Basic Input/Output System) and show you how to access it on your Windows 10 device.
The BIOS is a crucial component that controls your computer’s hardware and allows it to communicate with software. You can tweak various settings and optimize your system’s performance by accessing the BIOS. So, get ready to embark on an exciting journey as we explore the hidden depths of your computer’s core.
We’ll restart your computer and then access the elusive BIOS menu. From there, we’ll navigate its intricate interface, make necessary changes, and ensure they’re properly saved before bidding farewell to this arcane world.
Let’s unlock the power within!
Key Takeaways
- Accessing the BIOS in Windows 10 allows computer behaviour customization and system performance optimization.
- Pressing specific keys (Del, F2, or Esc) before the Windows logo appears is necessary to access the BIOS.
- Caution should be exercised when making changes in the BIOS, as it controls hardware and software communication.
- Saving and exiting the BIOS is important to apply modifications and ensure optimal system function.
Understand the Purpose of the BIOS
The BIOS, a vital component in your computer’s hardware, acts as the control centre that silently orchestrates all the behind-the-scenes processes required for your Windows 10 system to function smoothly. It is responsible for initializing and configuring various hardware components such as the CPU, memory, and storage devices. The benefits of updating the BIOS include enhanced system stability, improved compatibility with new hardware or software, and increased performance.
Updating the BIOS can also address known issues or bugs affecting your computer’s functionality. Accessing the BIOS allows you to modify settings such as boot order, turning certain hardware features on or off, or adjusting clock speeds.
These common BIOS settings enable users to customize their computer’s behaviour according to their specific requirements and preferences.
Restart Your Computer
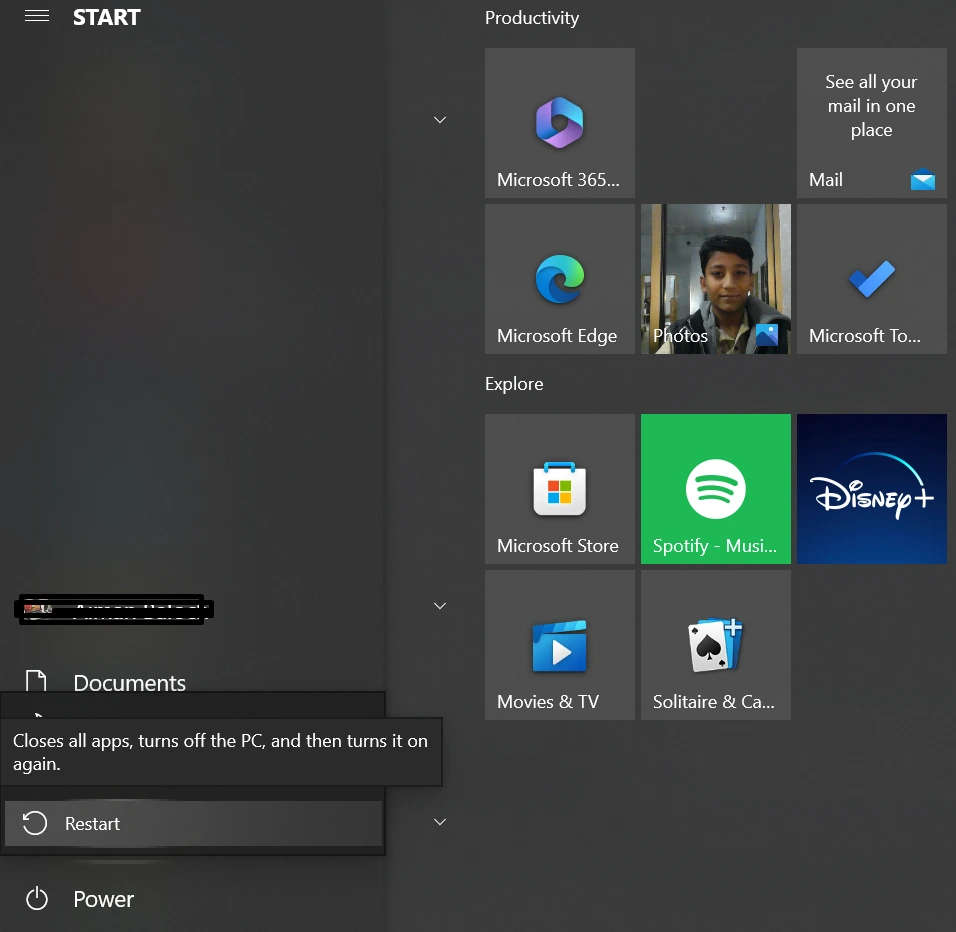
To get into the BIOS in Windows 10, simply restart your computer like a racecar revving up its engine before the big race. Restarting your computer is crucial in troubleshooting restarting issues and optimizing computer performance. When you restart your Windows 10 computer, you must be quick on the keyboard to access the BIOS settings. Once the computer starts rebooting, press and hold down a specific key (commonly Del, F2, or Esc) before the Windows logo appears. This will take you directly into the BIOS interface, where you can change hardware settings, boot order, and other configurations. It’s important to note that accessing the BIOS may vary depending on your computer manufacturer, so refer to your device’s documentation for precise instructions.
| Key | Function |
|---|---|
| Del | Accesses BIOS settings |
| F2 | Enters Setup Utility |
| Esc | Opens Startup Menu |
Remember that making changes in the BIOS can affect system stability, so proceed with caution and only modify settings if necessary or under professional guidance.
Access the BIOS Menu
Get ready to dive into the BIOS menu and unleash your computer’s full potential! When troubleshooting BIOS issues or accessing advanced BIOS settings, it’s crucial to know how to access the BIOS menu in Windows 10.
Here’s a step-by-step guide on how to do it.
First, start by restarting your computer. Once it begins to boot up, pay close attention to the screen. Look for a message that says, “Press [key] to enter setup.” The key may vary depending on your computer manufacturer, but commonly used keys include F2, F10, Del, or Esc.
As soon as you see this message, quickly press the corresponding key. This will take you directly into the BIOS menu.
Now that you’ve successfully accessed the BIOS menu in Windows 10, you can navigate through various options and settings. Use caution when making changes, as incorrect configurations can cause system instability.
Take advantage of this powerful tool and optimize your computer’s performance like never before!
Navigate the BIOS Interface

Explore the intuitive BIOS interface, effortlessly navigating its options and settings to optimize your computer’s performance. The BIOS (Basic Input/Output System) is a crucial component that controls hardware initialization, system configuration, and startup processes. To troubleshoot BIOS errors or modify common BIOS settings, follow these steps:
- Use the arrow keys to navigate through the different menu options.
- Press Enter to select a specific option.
- Modify values by using the designated keys mentioned in the on-screen instructions.
- Save changes by selecting “Save and Exit” or pressing F10.
- For troubleshooting purposes, refer to the motherboard manufacturer’s documentation or website for specific error codes or recommendations.
The table below showcases some common BIOS settings you may encounter:
| Setting | Description |
|---|---|
| Boot Sequence | Determines which devices are checked for boot files |
| CPU Settings | Adjusts processor-related configurations |
| Memory Settings | Manages RAM timings and speed |
| Power Management | Controls energy-saving features |
| Security Options | Sets passwords and access restrictions |
By familiarizing yourself with these options, you can effectively utilize the capabilities of your computer’s BIOS interface while troubleshooting issues or optimizing performance.
Make Changes to BIOS Settings
Navigating the BIOS interface effortlessly allows me to change my computer’s settings and optimize its performance. One of the key aspects of modifying BIOS settings is configuring hardware. This involves adjusting CPU speed, memory timings, and voltage settings to ensure optimal performance and stability.
By accessing the BIOS, I can fine-tune these hardware configurations according to my specific requirements.
Another important aspect is modifying the boot sequence. This allows me to prioritize which devices my computer should attempt to boot from when starting up. By changing the boot order, I can set my preferred device (such as a hard drive or a USB flash drive) as the primary boot option, ensuring that my system boots up quickly and efficiently.
Accessing the BIOS in Windows 10 gives me full control over basic settings like hardware configuration and boot sequence, allowing me to customize and optimize my computer’s performance.
Save and Exit the BIOS
Now that we’ve made the necessary changes to the BIOS settings, saving and exiting properly is important. This ensures that all modifications are applied, and your system functions optimally.

To do this, follow these steps:
- Press the ‘Esc key to return to the main BIOS menu.
- Use the arrow keys to navigate to the ‘Save & Exit’ tab.
- Select ‘Save Changes and Exit’ or a similar option from the list.
Saving and exiting may take a moment as your system reboots with the new settings. If you encounter any troubleshooting save errors, make sure you’ve followed all steps correctly and consult your motherboard’s manual for guidance.
Remember, optimizing BIOS performance is crucial for overall system stability and efficiency.
Troubleshooting BIOS Access Issues
If you’re having trouble getting into the BIOS, don’t worry – just try tinkering with the boot sequence settings, and you’ll be able to access it in no time. Troubleshooting BIOS access issues can be frustrating, but there are common solutions for fixing them. One of the most common issues is a problem with the boot process. To troubleshoot this, check that your keyboard is connected properly and functioning correctly. Additionally, ensure that the BIOS key (usually Del, F2, or F10) is pressed at the right time during startup. If you cannot access the BIOS, try resetting it by removing and reinserting the CMOS battery on your motherboard. Remember to consult your motherboard’s manual for specific instructions on how to do this. By following these troubleshooting steps, you should be able to resolve common BIOS access issues and successfully enter your computer’s BIOS settings.
| Common Issue | Solution |
|---|---|
| Keyboard not working | Ensure proper connection and functionality |
| Incorrect BIOS key | Use correct key (Del/F2/F10) at startup |
| CMOS battery issue | Reset by removing/reinserting battery |
| Motherboard-specific problems | Consult motherboard manual for instructions |
Frequently Asked Questions
Conclusion
In conclusion, accessing the BIOS in Windows 10 is a crucial step for changing your computer’s hardware settings. By understanding the purpose of the BIOS and following the steps outlined in this guide, you can easily access and navigate through the BIOS interface.
Remember to save any changes you make before exiting the BIOS.
In a real-life scenario, let’s say you want to overclock your CPU for better performance in gaming. Accessing the BIOS allows you to adjust the CPU clock speed and voltage settings to optimize its performance without compromising stability.